

I never thought I liked gold leaf furniture until I renovated my grandmother's old dresser last spring.
After YouTube tutorials and a few failed attempts, I finally figured out how to get this beautiful metal finish in my home without spending a lot of money.
In this guide, I'll tell you what I knew before I started my gold leaf journey.
Whether you want to update boring furniture ideasforeurope or create something that resembles a place in a luxury hotel, I have the answer.
You'll learn the techniques I used, from choosing the right glue to applying these delicate gold leaves without scratching (believe me, I messed up a lot before I got it right).
As someone who has made every mistake as a beginner, I want to share with you my tried and true tips to help you avoid common mistakes and achieve great, lasting results on your first try.
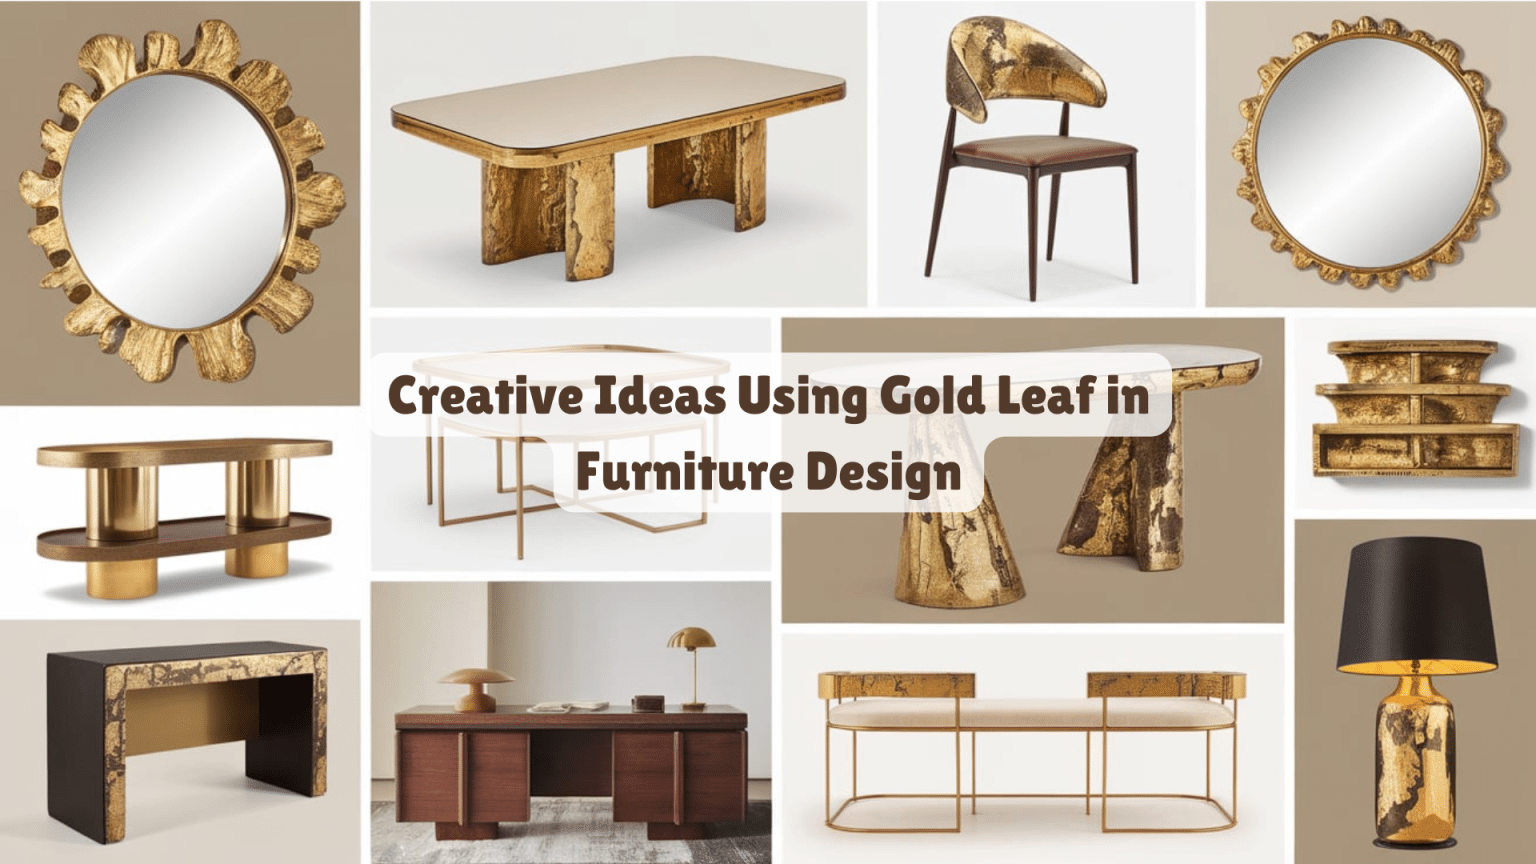
Creative ideas for using gold leaf in furniture design
1. Golden table
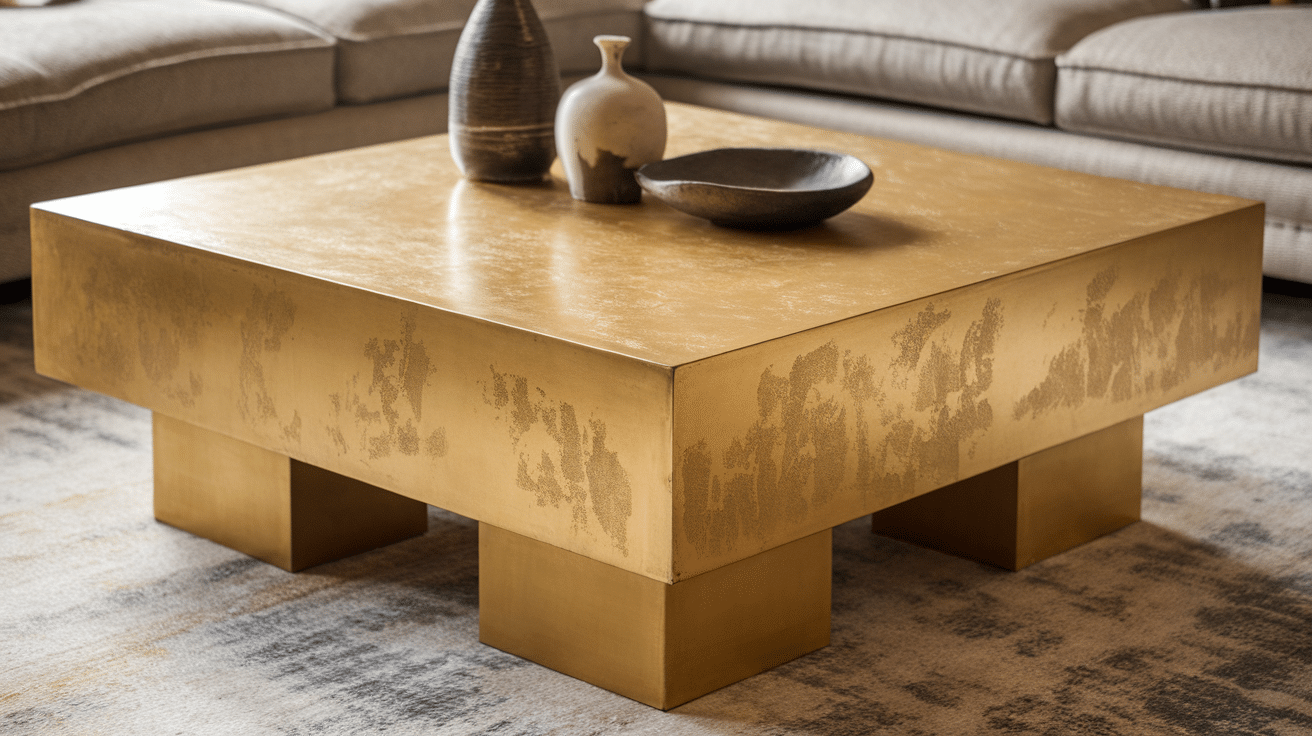
I turned my old table into an original piece using gold leaf. A rich gold finish completed my living room, giving it a modern yet luxurious look.
Steps to follow:
Sand the table to create a smooth surface.
Apply a layer of glue to help the gold leaf adhere.
Place the gold leaf on the glue and smooth it with a soft brush.
Allow it to dry completely to protect the finish before applying a top coat.
2. Gold leaf mirror frame
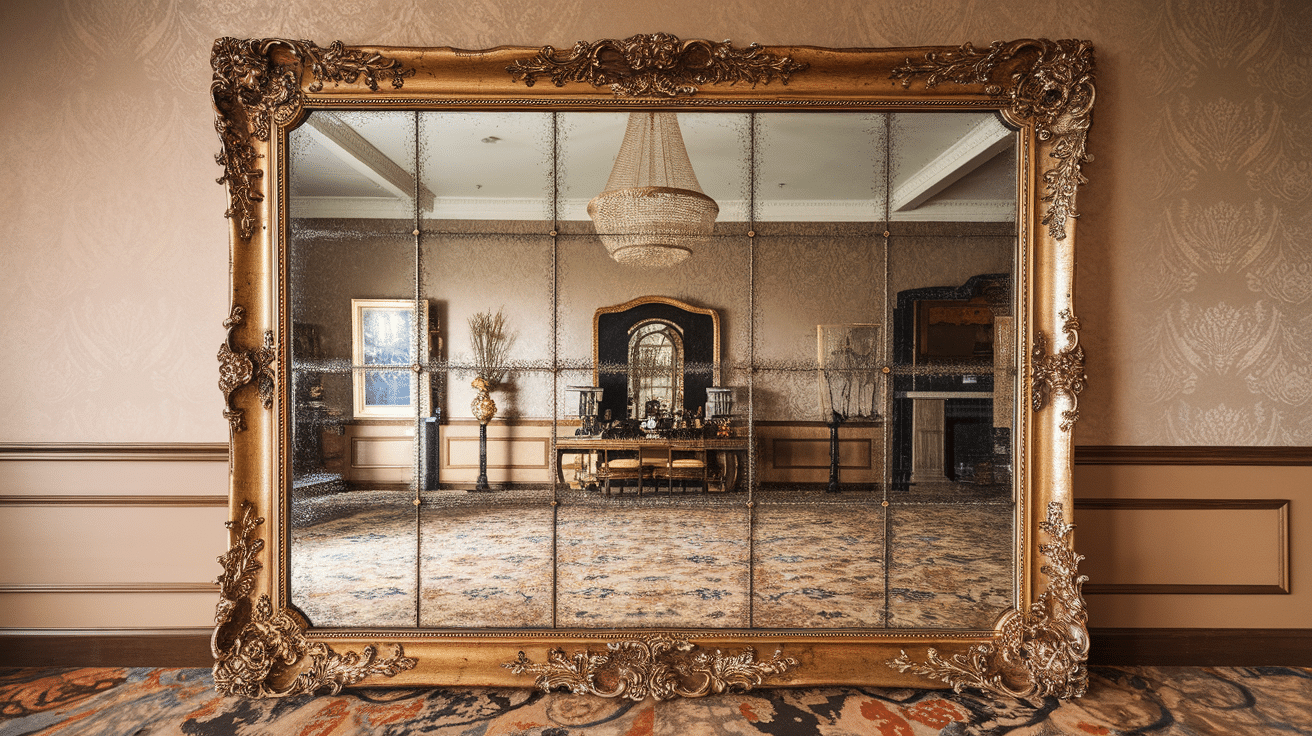
I customized a simple mirror frame by adding gold leaf. Subtle but striking gold accents create a beautiful contrast with the dark wood, making the room more refined.
Steps to follow:
Clean the mirror frame thoroughly to remove dust and dirt.
Apply a thin layer of glue to the frame.
Carefully place the gold leaf on the frame and smooth it with a soft brush.
When dry, cover the frame with clear varnish to preserve the gold leaf.
3. Decorative box made of gold leaf
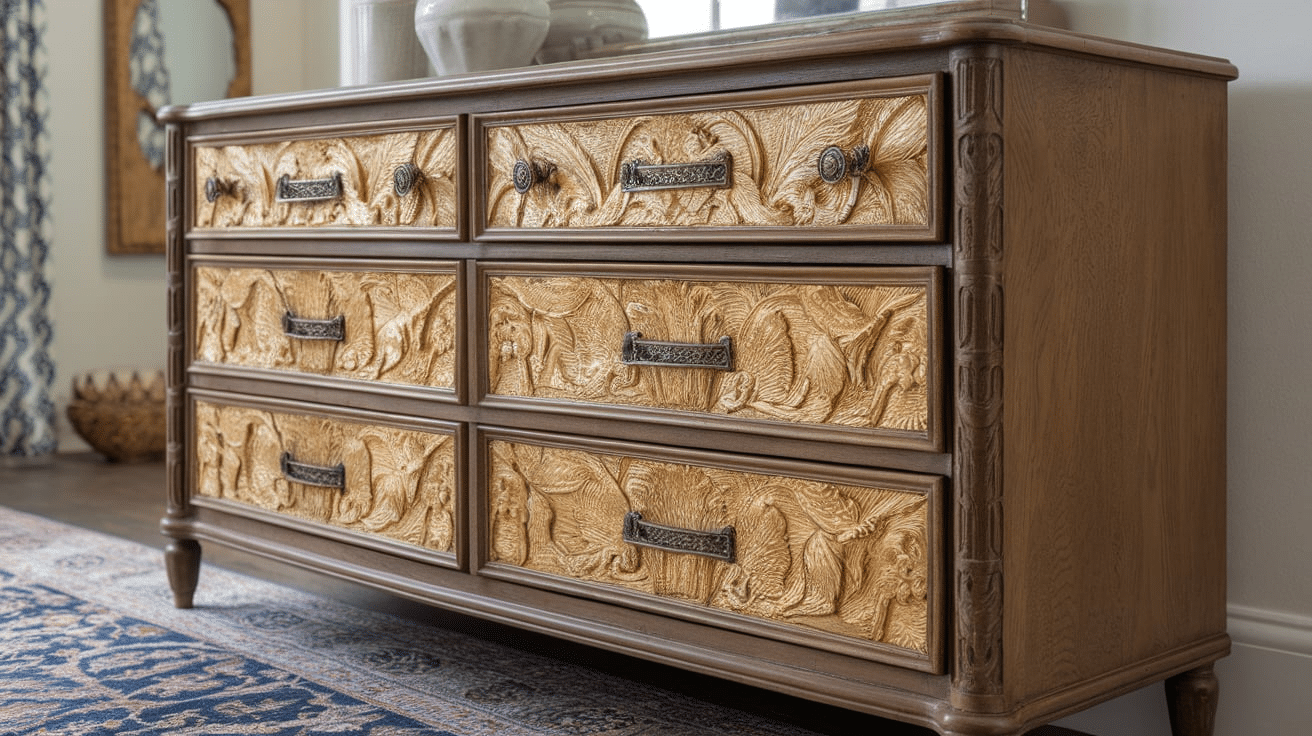
I wanted to add some shine to my old dresser, so I just applied gold leaf to the drawer fronts. He immediately got to work.
Steps to follow:
Remove the drawer handles and clean the surface.
To ensure that the paint adheres properly.
Apply glue to the front of the box.
Carefully place the gold foil over the mold and press lightly.
Seal the surface with wax to increase strength.
4. The base of the lamp is made of gold leaf
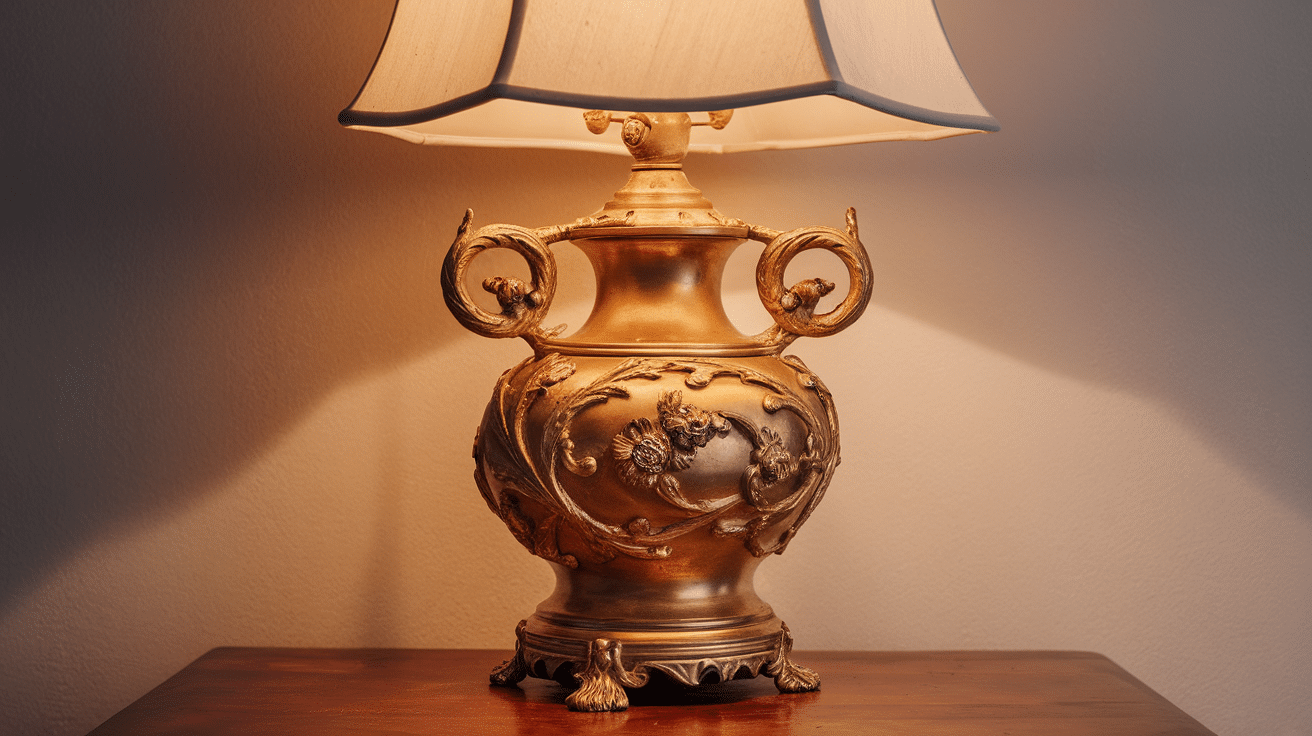
To embellish my bedside lamp, I added gold leaf to the base of the lamp. The golden glow of the night gives it an elegant and pleasant atmosphere.
Steps to follow:
Remove the lamp and screen.
Wash the foundation thoroughly to remove dust.
Apply the required amount of glue to the base of the lamp.
Place the gold leaf on the glue and smooth it out.
After drying, the base is covered with clear varnish so that the gold remains intact.
5. Gold leaf chair legs
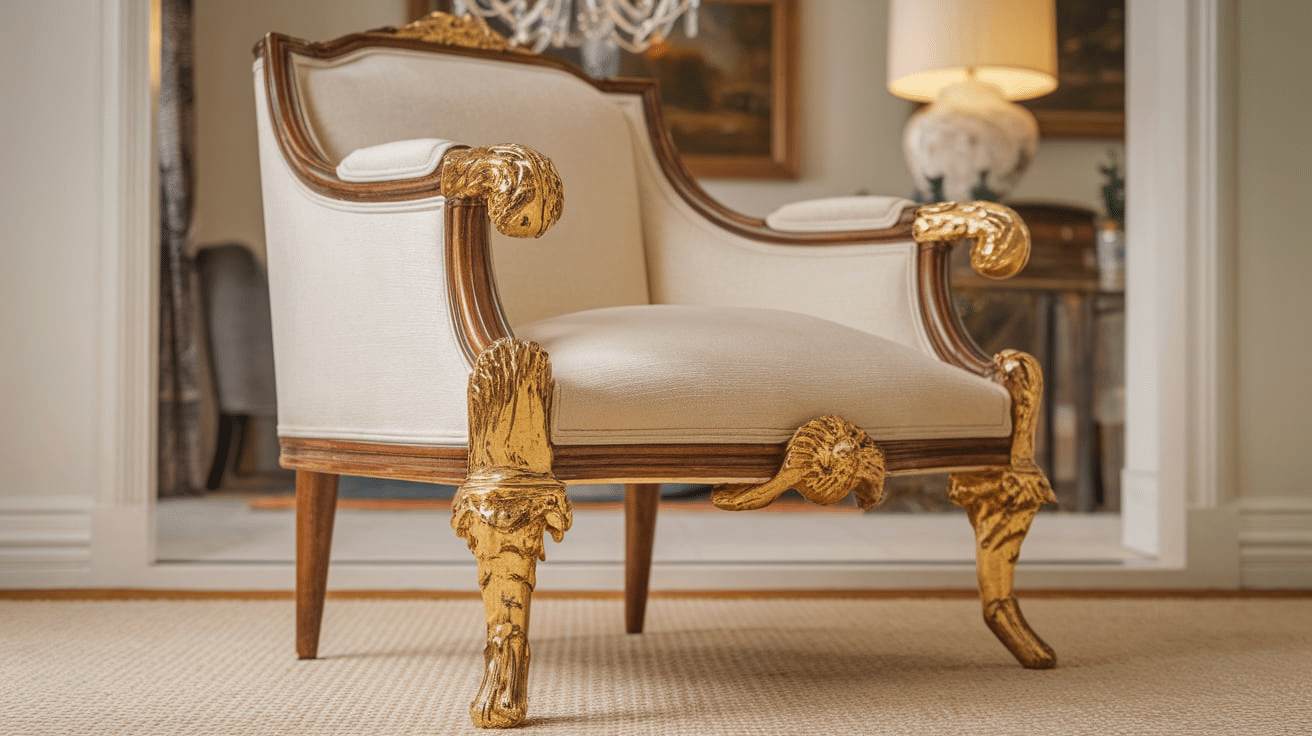
I brought my dining room chairs to life by adding gold legs. It gave the whole room a smart and sophisticated look.
Steps to follow:
Remove the seat from the chair frame.
Sand the chair legs to remove any imperfections.
Apply the adhesive system to the legs.
Carefully place the gold leaf on the leg and smooth it out with a soft cloth.
Let it dry and apply a top coat for durability.
6. Golden table
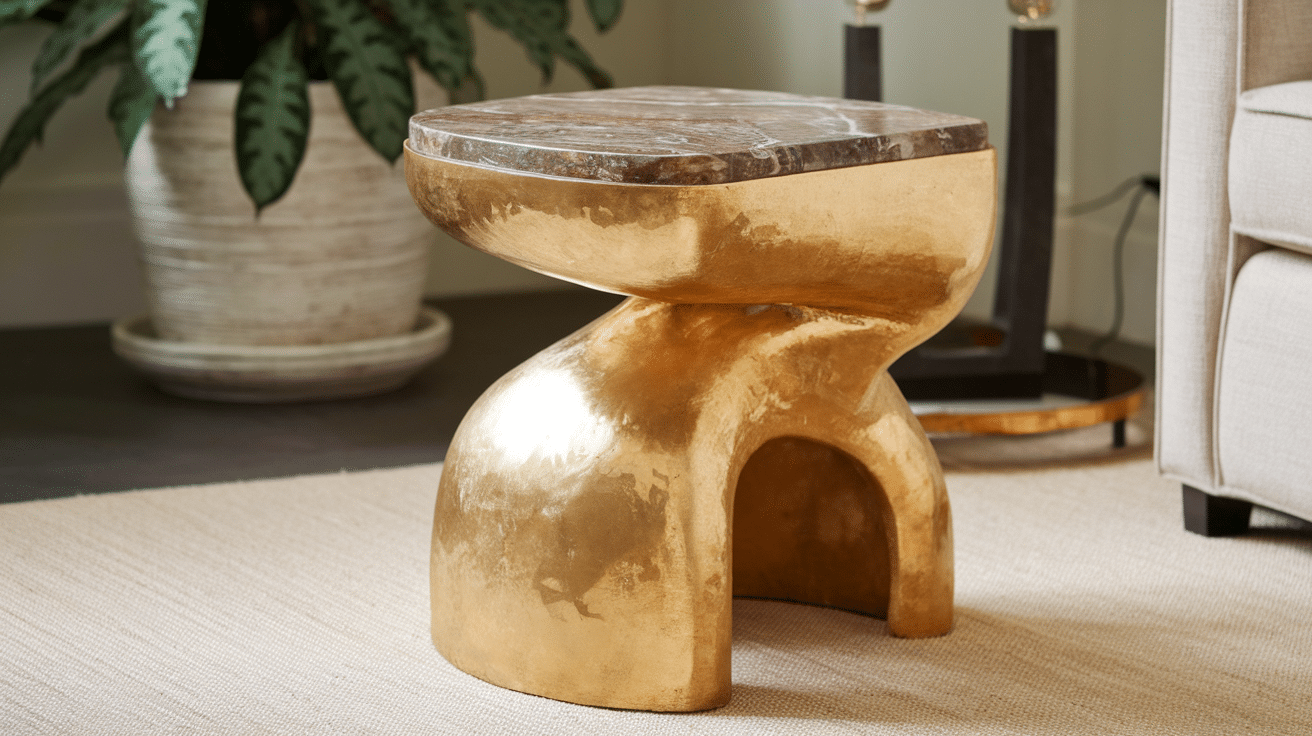
I decided to freshen up my side table by using gold leaf on the legs. The glossy finish matched perfectly with the minimalist decor of my living room.
Steps to follow:
Lightly clean and sand the table legs so that they fit properly.
Apply a thin layer of glue to the legs.
Carefully place the gold leaf over the shape and press it down.
Allow the table to dry before applying the protective layer.
7. Wooden tray with gold leaf
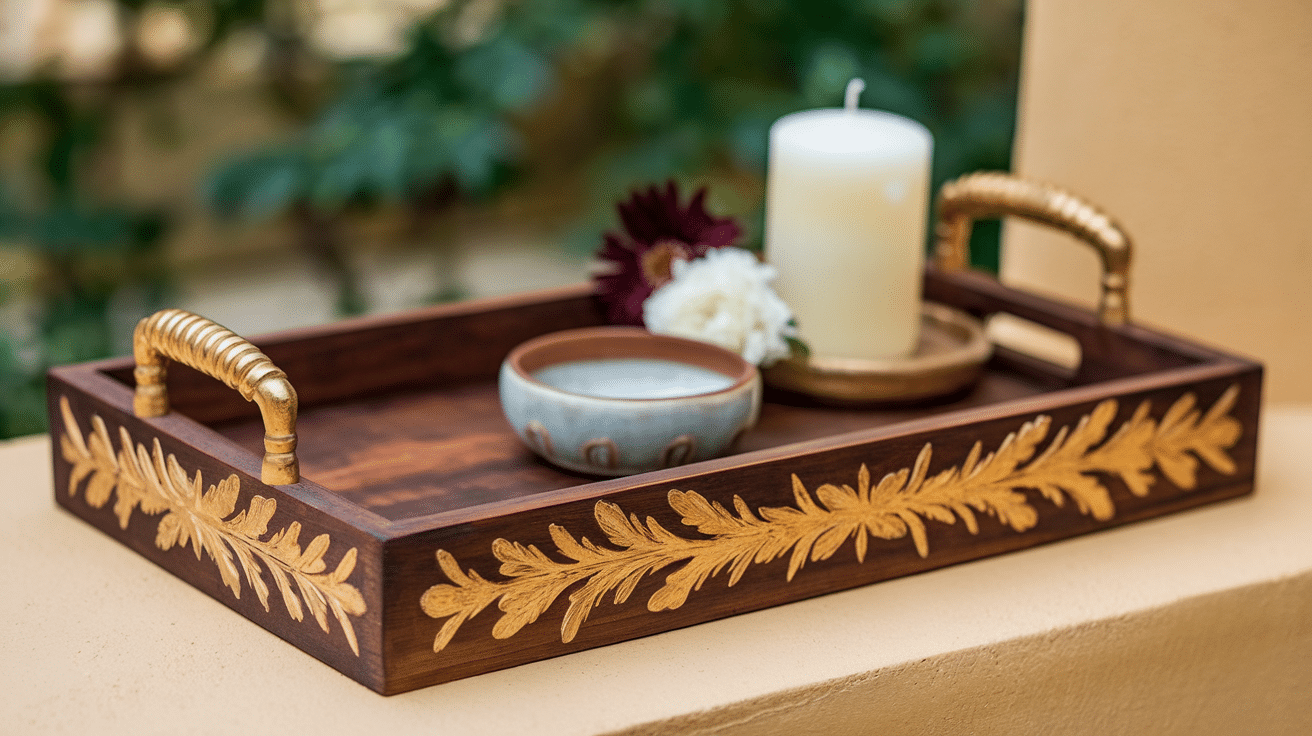
To separate my tray, I added gold leaf around the edges. It became the perfect accent that caught everyone's attention during the meeting.
Steps to follow:
While preparing, lightly sand the edges of the pan.
Apply glue to the edges of the drawer.
Carefully apply gold leaf to the edges.
When it dries, cover it with a clear coat for extra protection.
8. Gold leaf cabinet doors
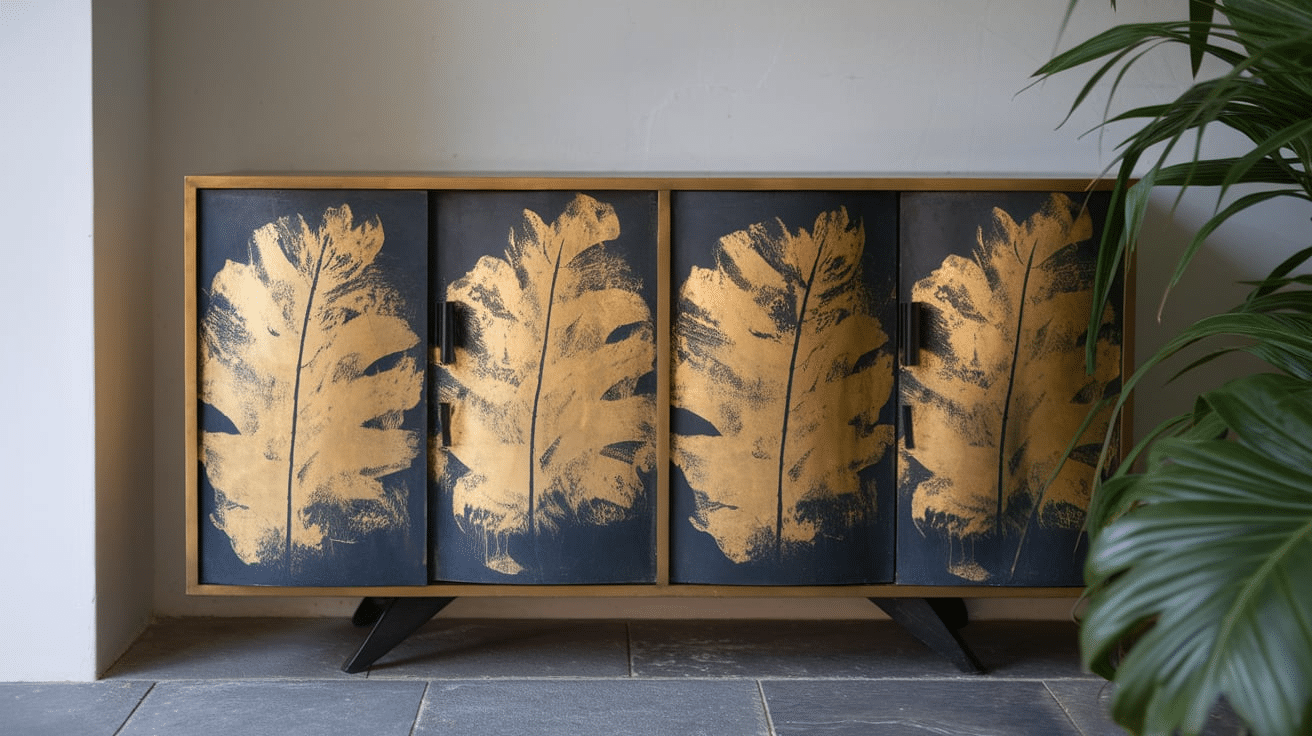
I wanted a more luxurious look for my kitchen cabinets so I added gold leaf to the door panels. It lifts the entire room and gives it a royal look.
Steps to follow:
Remove cabinet doors and handles.
Sand the surface of the door to create a smooth surface.
Apply a generous amount of glue and let it sit for a few minutes.
Place gold leaf over the glue and smooth out the wrinkles.
Close with a safety cap to maintain shine.
9. Gold leaf
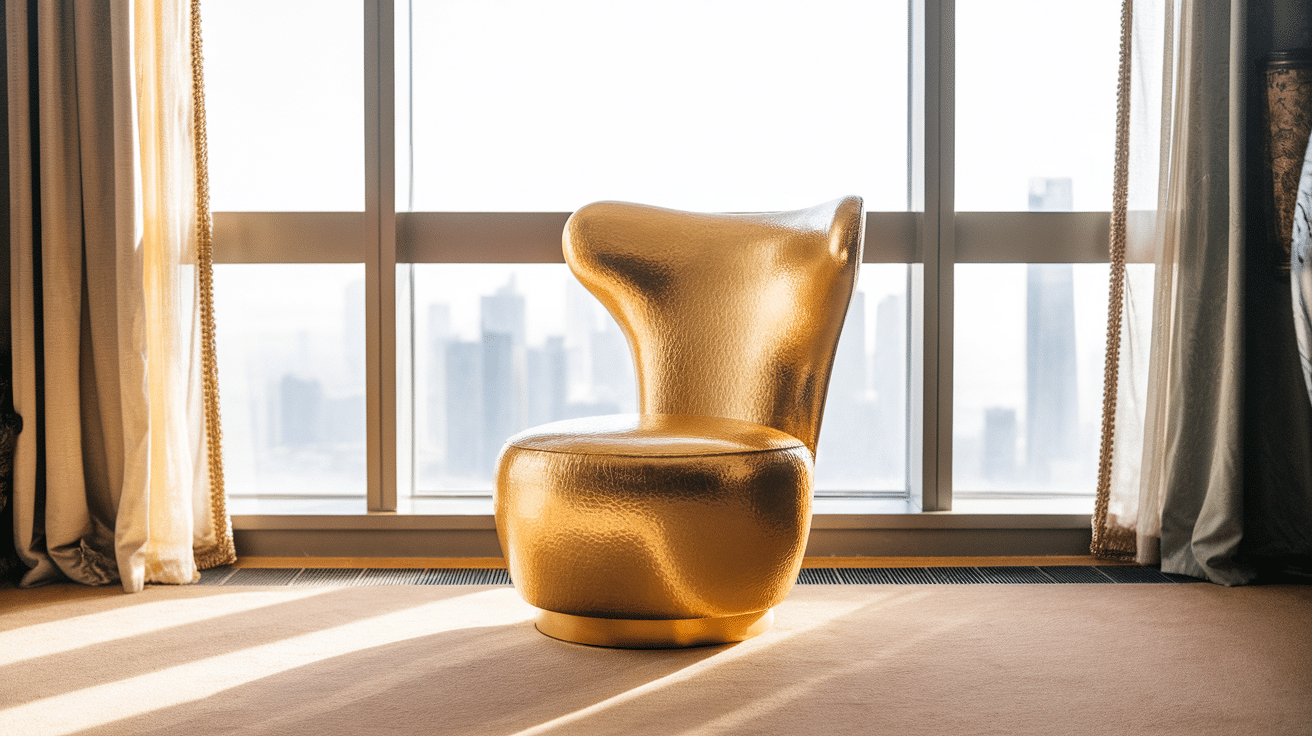
I added gold accents to a simple chair nearby. The added gold looked sleek and modern, perfect for my contemporary space.
Steps to follow:
Sand the chair to remove the old finish.
Apply a thin layer of glue.
Place the gold leaf on the chair and press lightly.
Let the chair dry and apply a clear protective layer.
10. Gold leaf plank

I added gold leaf to the edges of the shelf, which gives it an elegant touch that contrasts well with the neutral tones of my room.
Steps to follow:
If necessary, take the plank apart and sand the edges.
Apply glue evenly around the edges.
Place the gold leaf in the mold and smooth it out a bit.
Varnish the bookcase to protect the gold leaf and prevent wear.
How do you care for gold leaf furniture?
Tips for cleaning and maintenance
I've learned that caring for gold leaf furniture isn't as scary as I thought. After gilding the dresser, I found that smooth was best.
I use one Clean with a dry microfiber cloth For daily dust removal when wearing glasses. If I need to clean more thoroughly, I lightly dampen the cloth with distilled water.
The sealed water left a stain on the first try, so trust me.
One thing that surprised me was how sensitive the surface of my gold leaf was to household cleaners.
After ruining a small sample with regular furniture polish, I now avoid chemical cleaners.
I put a special copy in its place Brush with soft bristles Just for my golden share.
If the powder breaks, I gently remove it with light, wide strokes.
Avoid damaging the gold layer
Living with gold leaf furniture has taught me some valuable lessons about safety.
I learned to keep my gold dresser out of direct sunlight after noticing a small discoloration on one edge in daylight.
I have now repaired my room to protect it and am much happier with the way it is doing.
The biggest challenge I face is protecting the surface from daily wear and tear. I made the mistake of placing the vase directly on the gold leaf and a mark came up on the ring.
I'm using it now Felt lining There are no decorative elements underneath and I have trained myself not to place drinks or water-based items on the surface.
When my niece comes over, I cover the bottom with a soft cloth, as small fingerprints can mark the surprisingly delicate finish.
Another unexpected factor was the temperature change. I originally placed the dresser next to the opening, but hot and cold air kept coming in through the edges.
I have since moved it to a more stable location uniform temperatureand this has had a significant impact on end-of-life care.
I'm still amazed at how well my gold leaf furniture holds up after these simple care routines. Although he needs special attention, he is not as big as I first feared.
Remember: gentle cleaning, correct installation and continued protection will keep your item looking good for years to come.
Where can I buy gold leaf furniture or materials?
The best online store for gold leaf furniture
When I started my gold leaf journey, finding high quality items was overwhelming. After many purchases (and several returns) I have found the right source.
I really love it Etsy craft shop For unique handmade gold leaf furniture. The item that inspired me to start my DIY adventure was an amazing console table I saw there, although it took $2000 out of my budget so I decided to make it myself.
I've also found some hidden gems at Wayfair and Overstock, especially during the holiday sales.
Last month I saw a gold leaf mirror frame that looked exactly like the one I saw in a luxury store, but for a third of the price.
advice: Always read the product description carefully. Some ads emphasize "gilding" when they actually mean the color, not the actual gold leaf.
Best supplier of DIY gold leaf kits.
After trying materials from different sources, I found the perfect combination. I take out my gold leaf The art of the fastball - Their 25 page brochure did not disappoint.
The blades are the perfect thickness and I have found them to be more forgiving for beginners than other brands I have tried. In terms of size (glue) and sealant, I swear by Michael Gilder products, which I order directly from their site.
My favorite discovery was a small online store Gold Leaf Supply Co. Their starter kit saved me the trial and error: from the gold-plated tip to the polishing tool, it includes detailed instructions.
It cost me about $85, but considering I spent almost that much on the study materials, it was worth every penny.
A word of caution from my own experience: I made the mistake of buying the cheapest materials I could find on Amazon for my first project.
The gold leaf was so thin that I had to sand it before applying it, but the glue never held well enough. Now I know that if you spend a little more on quality materials, you will save money in the long run because you will spend less and get better results.
For anyone just starting out, I recommend doing a small series of exercises first. On my first attempt I wasted an entire box of gold notes because I didn't know what I was doing.
Most providers offer trial packages; This is the perfect way to test your equipment before investing more.
Conclusion
After spending a few months with gold leaf furniture, I can say that the magic is in the details.
Whether you're restoring a family heirloom or purchasing a finished piece, gold leaf adds a timeless elegance that paint or other finishes can't match.
Remember: Start with good preparation, invest in quality materials and take the time to search. Don't be discouraged if your first attempt isn't perfect; mine certainly wasn't.
The most important thing is to be careful with the gold leaf pieces and protect them from direct sunlight and moisture.
Are you ready to start your gold leaf journey? Start with a small object, such as a picture frame or side table. Once you understand the basics, you'll be amazed at what you can create.
Want to know more? Join me for exclusive tips and project ideas.
Frequently asked questions about gold leaf furniture
How long does gold leaf furniture last?
In my experience, gold leaf furniture that is properly sealed and maintained will last 15-20 years or more. Mine is still fresh after two years of daily use.
The main thing is to use a quality sealant and protect it from excess moisture and sunlight. Regular cleaning with a microfiber cloth helps maintain the shine.
Can gold leaf be applied to painted surfaces?
Naturally! I have successfully applied gold leaf to painted and bare wood surfaces. The secret is careful preparation: sand the surface, apply a primer and make sure it is completely clean and dry before you start. I always do a small test to check the fit.
What is the difference between real gold leaf and imitation gold leaf?
Having worked with both, I can say that real gold has a warm, rich tone and does not tarnish over time. It costs about $40-$50 per booklet.
A fake letter (also called a job application letter) costs about $10 per flier. Although it looks the same at first glance, it can oxidize over time. I use real gold leaf for heirlooms and faux gold leaf for decorative accents.
Is Gold Leaf Furniture Difficult for Beginners?
While I don't know - my first attempt was a challenge - it can certainly be done with patience. Start with a small flat surface, such as a picture frame.
The sensitive leaves were the hardest for me to deal with. After about two exercises you will have mastered it. First and foremost, expect mistakes.
How much does it cost to make gold leaf furniture?
For my dresser project, I spent about $150 on supplies (gold leaf, glue, caulk, and tools). He covered the center cabin with pieces of material.
Small projects like side tables can cost $75-$100. While it may seem expensive at first, it is much cheaper than buying ready-made gold leaf furniture, which can cost thousands of dollars.


0 Comments